

Let’s start with a confession: organizing office supplies isn’t glamorous. No one daydreams about drawer dividers or cable clips. But when you’re digging through a pile of dried-out pens to find the one that works, you realize something has to change.
We talked to Elsa Elbert, a professional organizer and founder of Composed Living, to help us get real about what it takes to wrangle the mess—without overcomplicating the system. This guide breaks it down, top to bottom, so you can stop wasting time searching for scissors and start actually getting things done.
A cluttered desk doesn’t just look messy—it can actually tank your focus. Visual chaos makes it harder to settle in, stay on task, and find what you need.
Elsa has seen this firsthand. One of her clients, a small business owner, was struggling with an overflowing desk—piles of paperwork, scattered supplies, and no clear system.
Together, they decluttered, scanned old papers, and set up clearly defined zones for different tasks: shipping, invoicing, brainstorming. Within a week, the client reported feeling more productive—and even excited to sit down and work again.

Start by pulling everything out. Yes, everything. That drawer you haven’t opened since 2022? It’s time. Group like items together: pens with pens, cables with cables, Post-its with their long-lost cousins.
“One of the biggest struggles people face is accumulating too much,” Elsa told us. “It’s easy to hold onto extra pens, notepads, and paperclips ‘just in case,’ but cluttered drawers make it harder to find what you actually need.”
Test every pen. Recycle the dried-up ones. Donate the three dozen branded notepads you forgot you had. Elsa’s advice? “Set limits—keep only what fits in a designated container and donate the excess.”
Scan old documents, ditch unnecessary paper, and unsubscribe from mailers that go straight into the recycling bin. Don’t underestimate the lift that comes from letting go of half-filled notebooks and expired printer ink.

Now that you know what you’re working with, it’s time to group things not just by type—but by use. What do you need every day? What only comes out for quarterly planning sessions? What can live in a closet?
This is where your zones take shape. You might have a writing zone, a mailing zone, a paper zone. Elsa calls this giving everything a "home."
She also warns against jumping straight to buying bins: “People tend to buy organizers before decluttering, which often leads to unnecessary storage solutions. Always edit first, then choose the right containers for what’s left.”
To avoid overthinking, give each drawer, shelf, or desktop corner a clear identity. One drawer is for writing tools. Another is for mailing supplies. The shelf above your printer? That’s your print station now.
Start thinking in layers—from the top of your desk to the drawers below and the walls around you. Each area has a purpose, and when you treat them like distinct zones, organization becomes intuitive.

Your desk isn’t a storage unit. It’s a workspace. Keep it clear.
Elsa recommends limiting the surface to “daily-use essentials—think your laptop, a notebook, and a cup for your go-to pens.” Anything else is just visual noise.
Need a place for papers that aren’t quite ready to file? Use a tray or vertical sorter, but commit to clearing it daily. And if cords are creeping across your desk like vines, tame them with a few well-placed cable clips or an under-desk cord tray.

Elsa also recommends a tiered desktop organizer for supplies you use often. “It keeps them visible but contained,” she says—which is really the dream.
Add one if you reach for lots of small items throughout the day—sticky notes, scissors, a highlighter or two. It keeps them visible, not scattered.

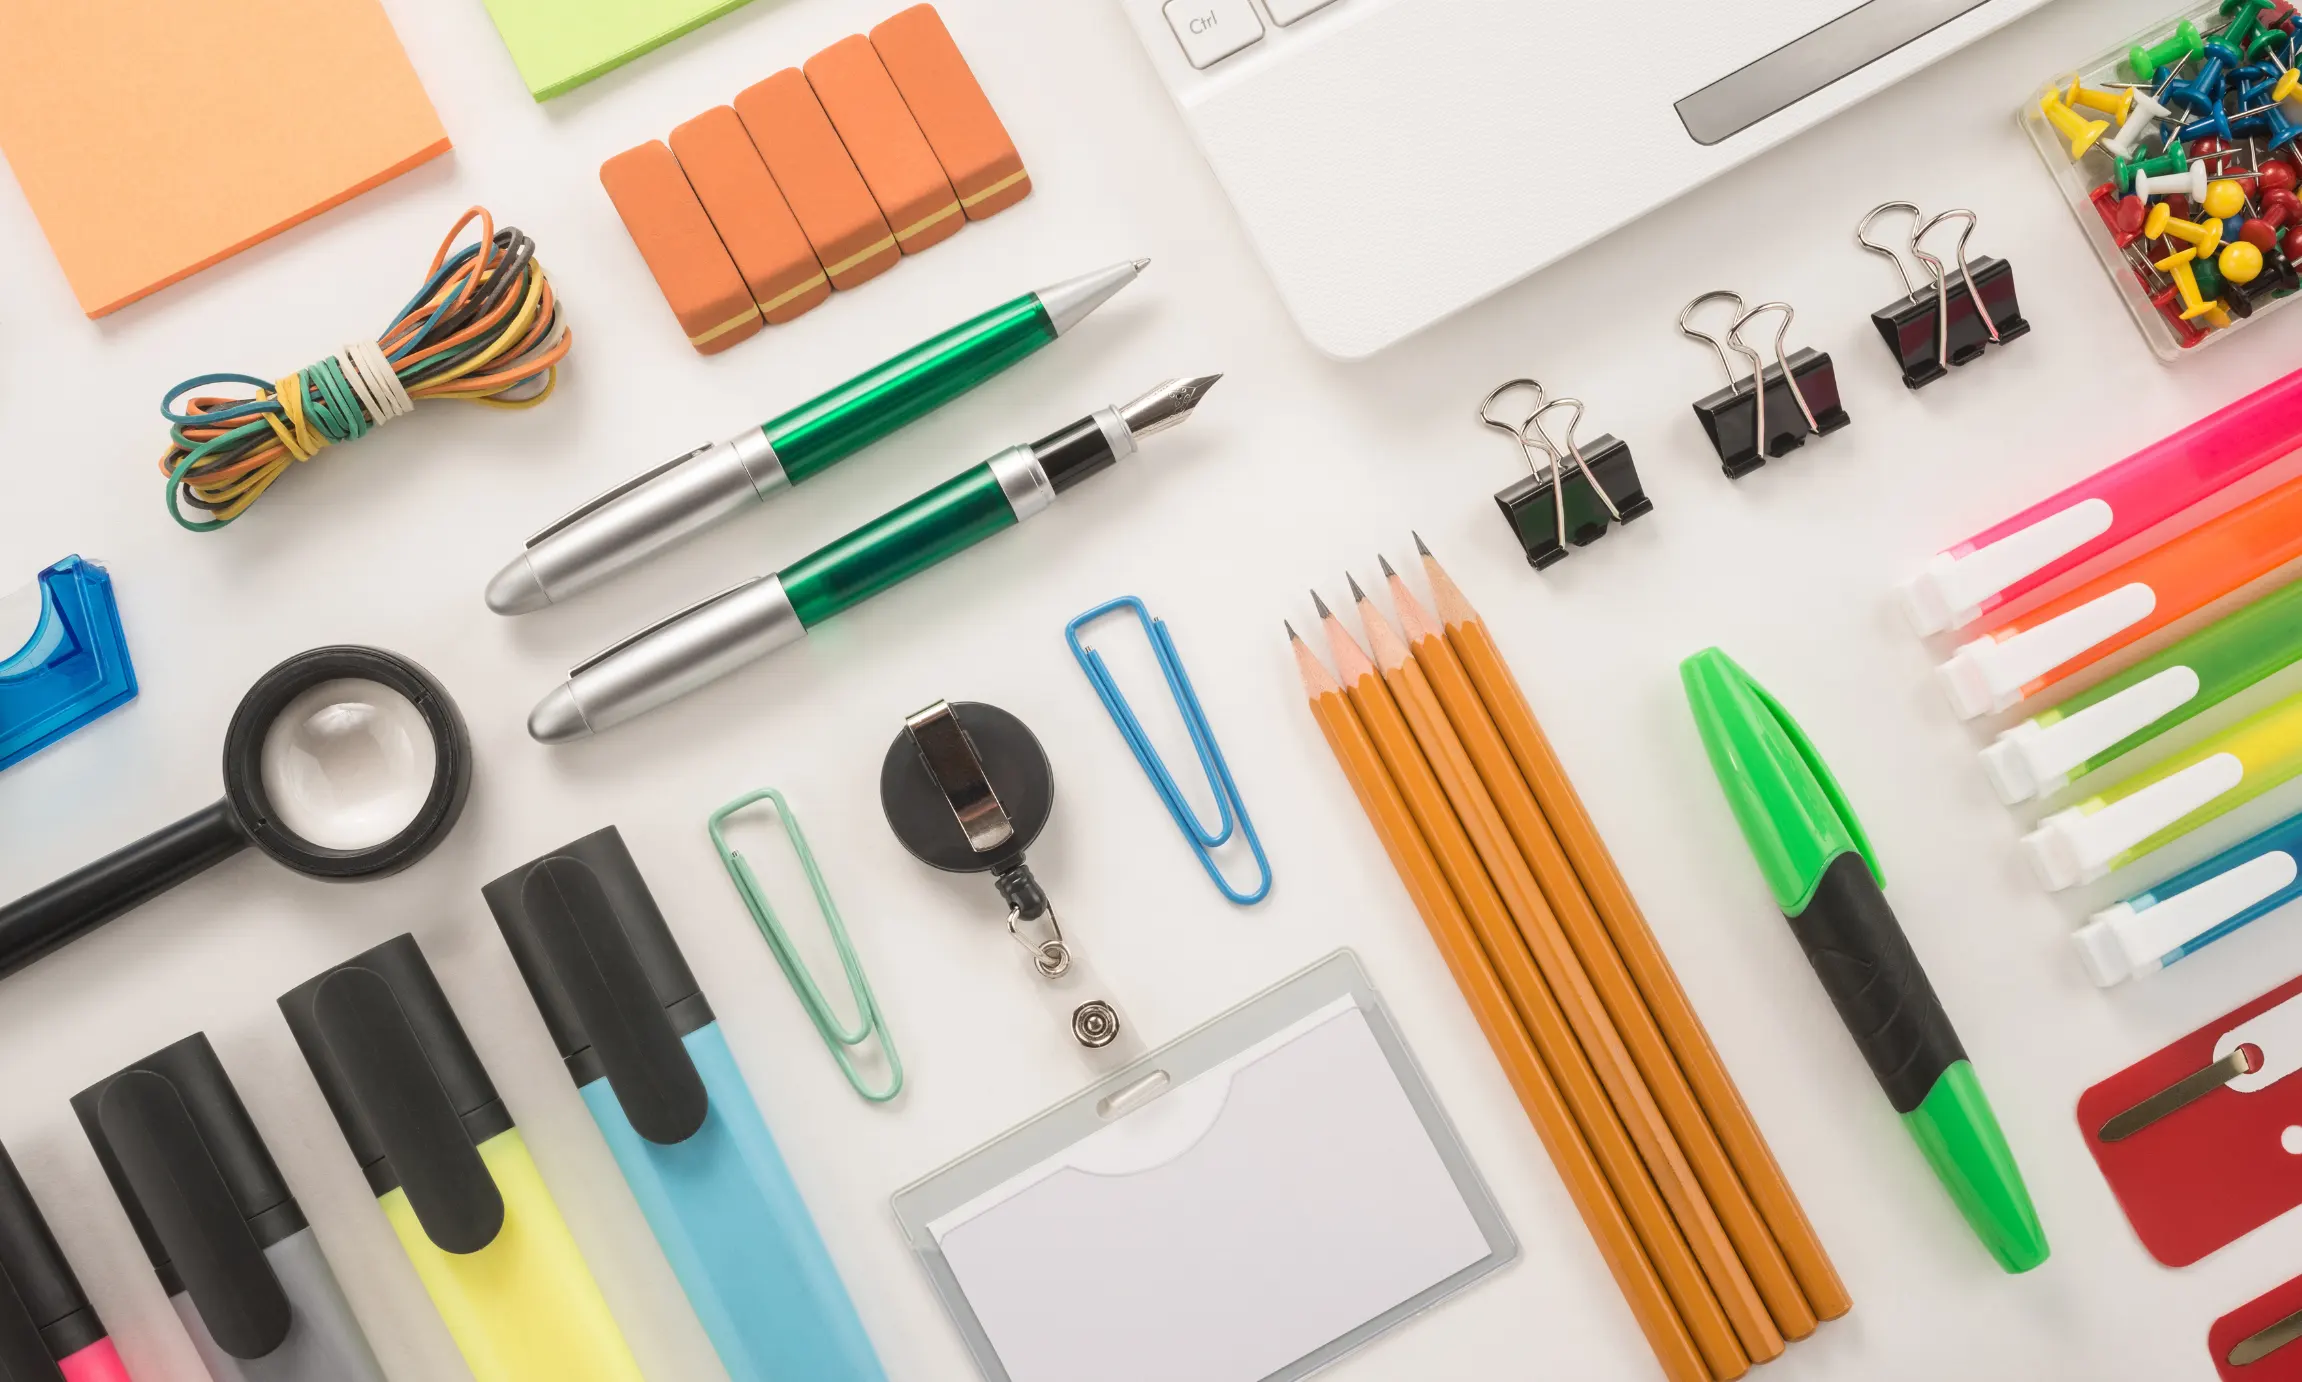
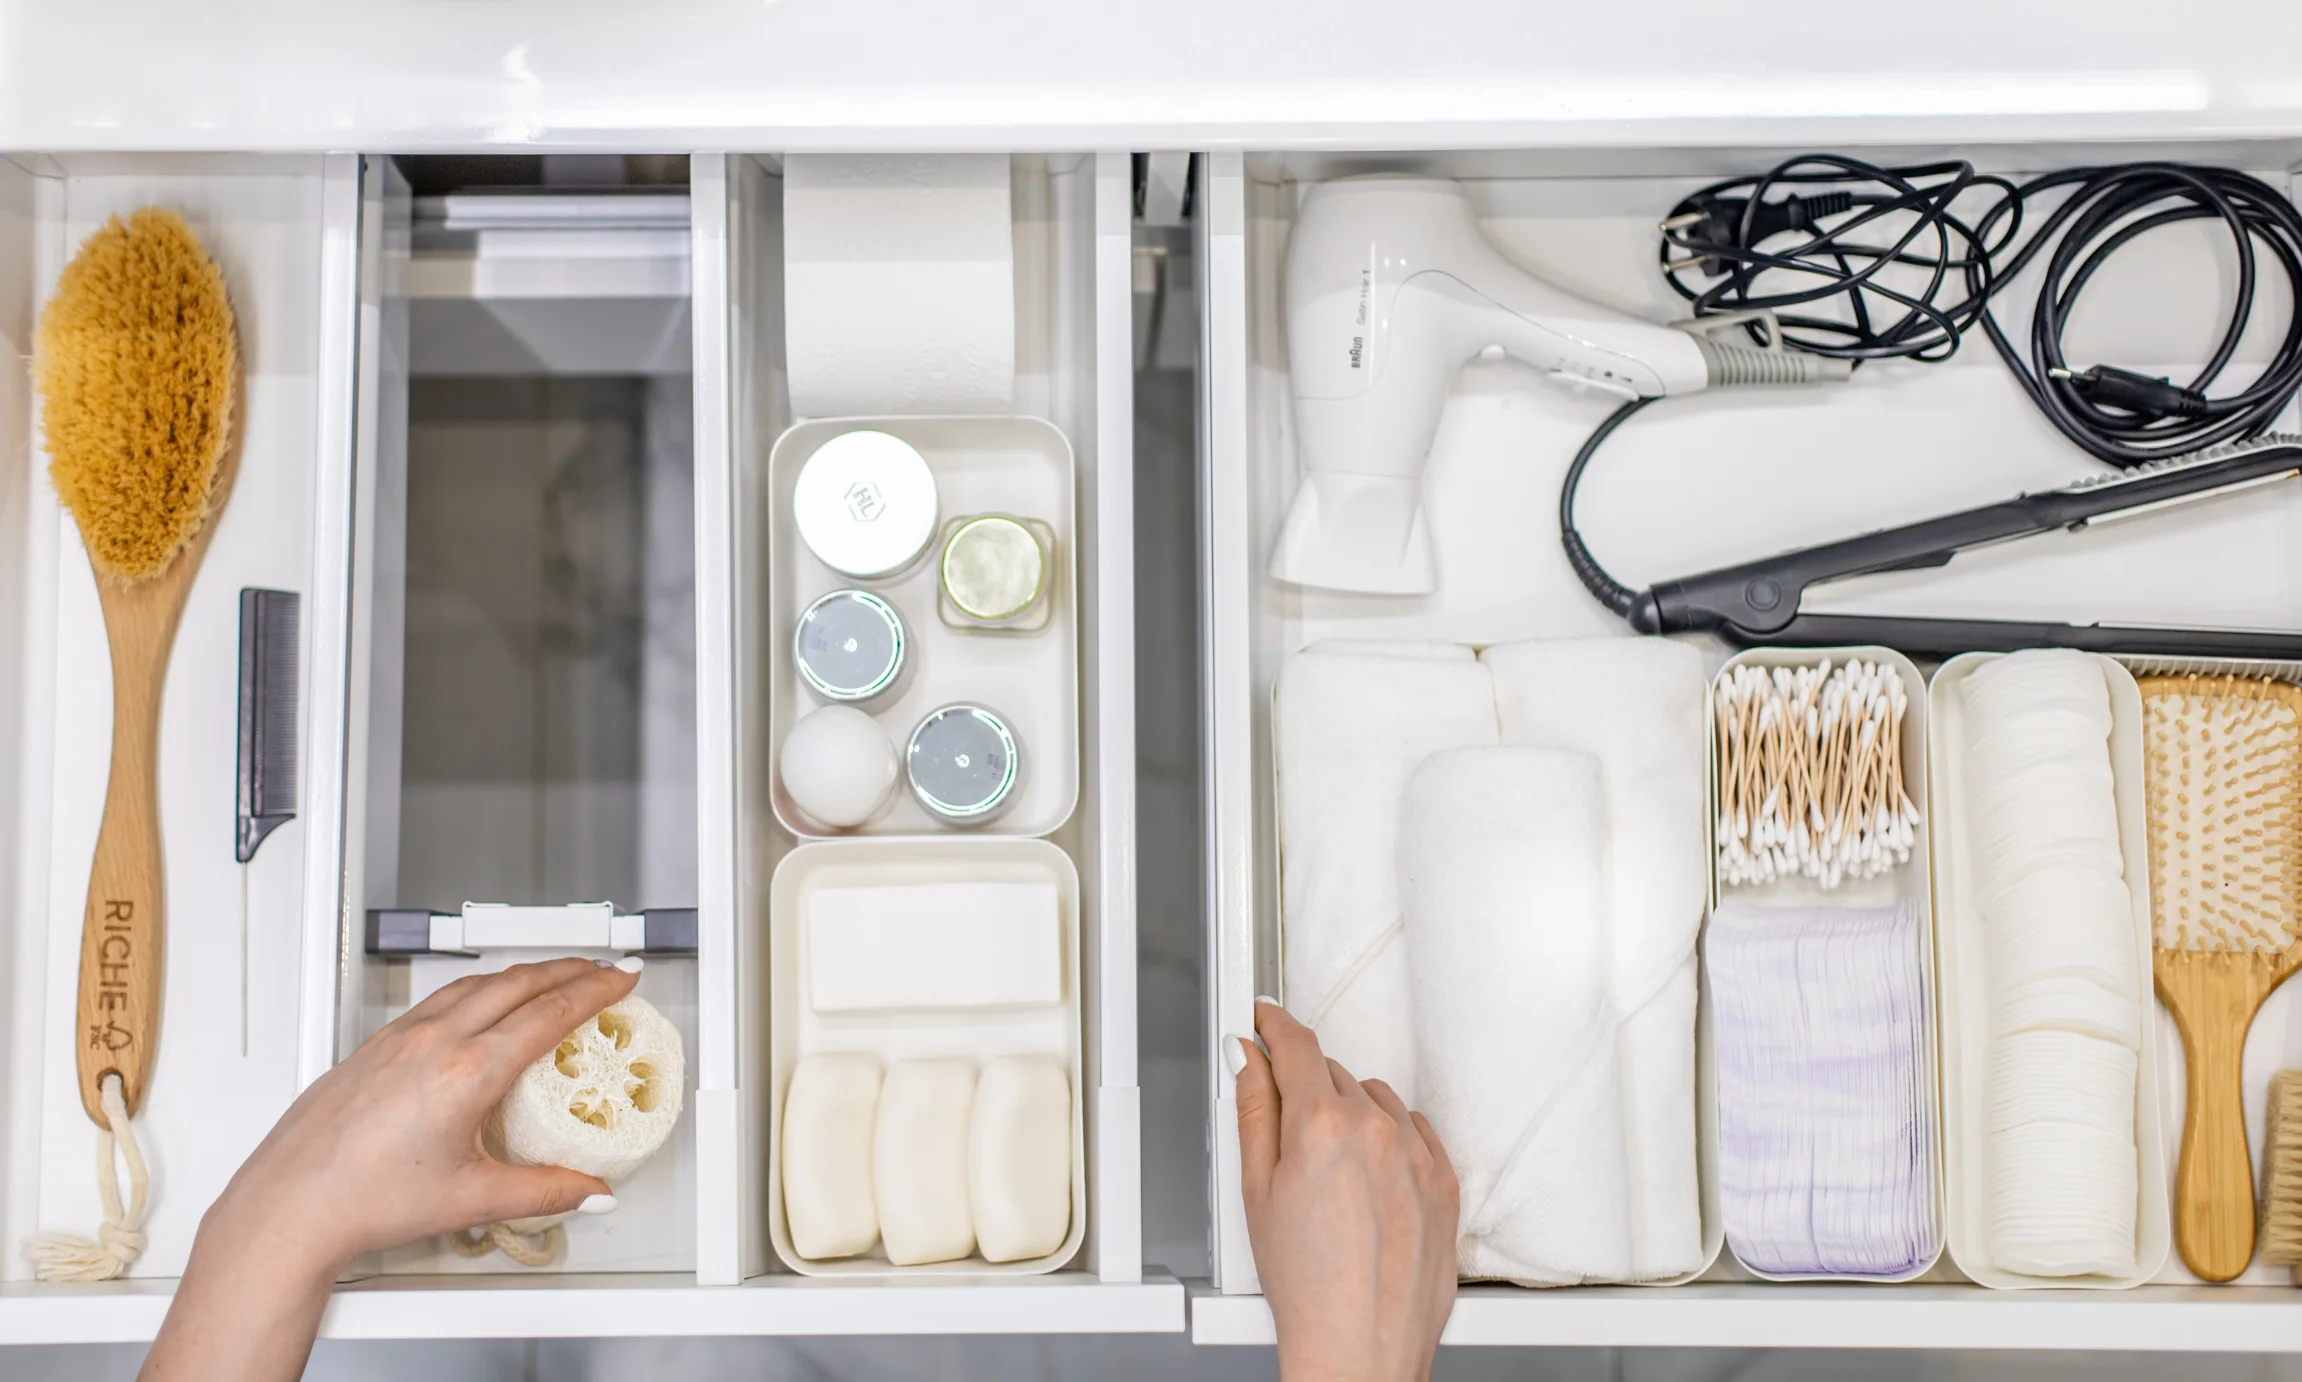
Organizing desk drawers is all about identifying prime real estate. Think of your top drawer as home base for small, essential tools: sticky notes, staplers, rubber bands, paperclips, and charging cables.
Elsa is all about containment here. “Shallow drawer dividers keep small items like paperclips and sticky notes from becoming a jumbled mess,” she said. And she’s right—nothing derails a productive moment like a five-minute hunt for a binder clip.
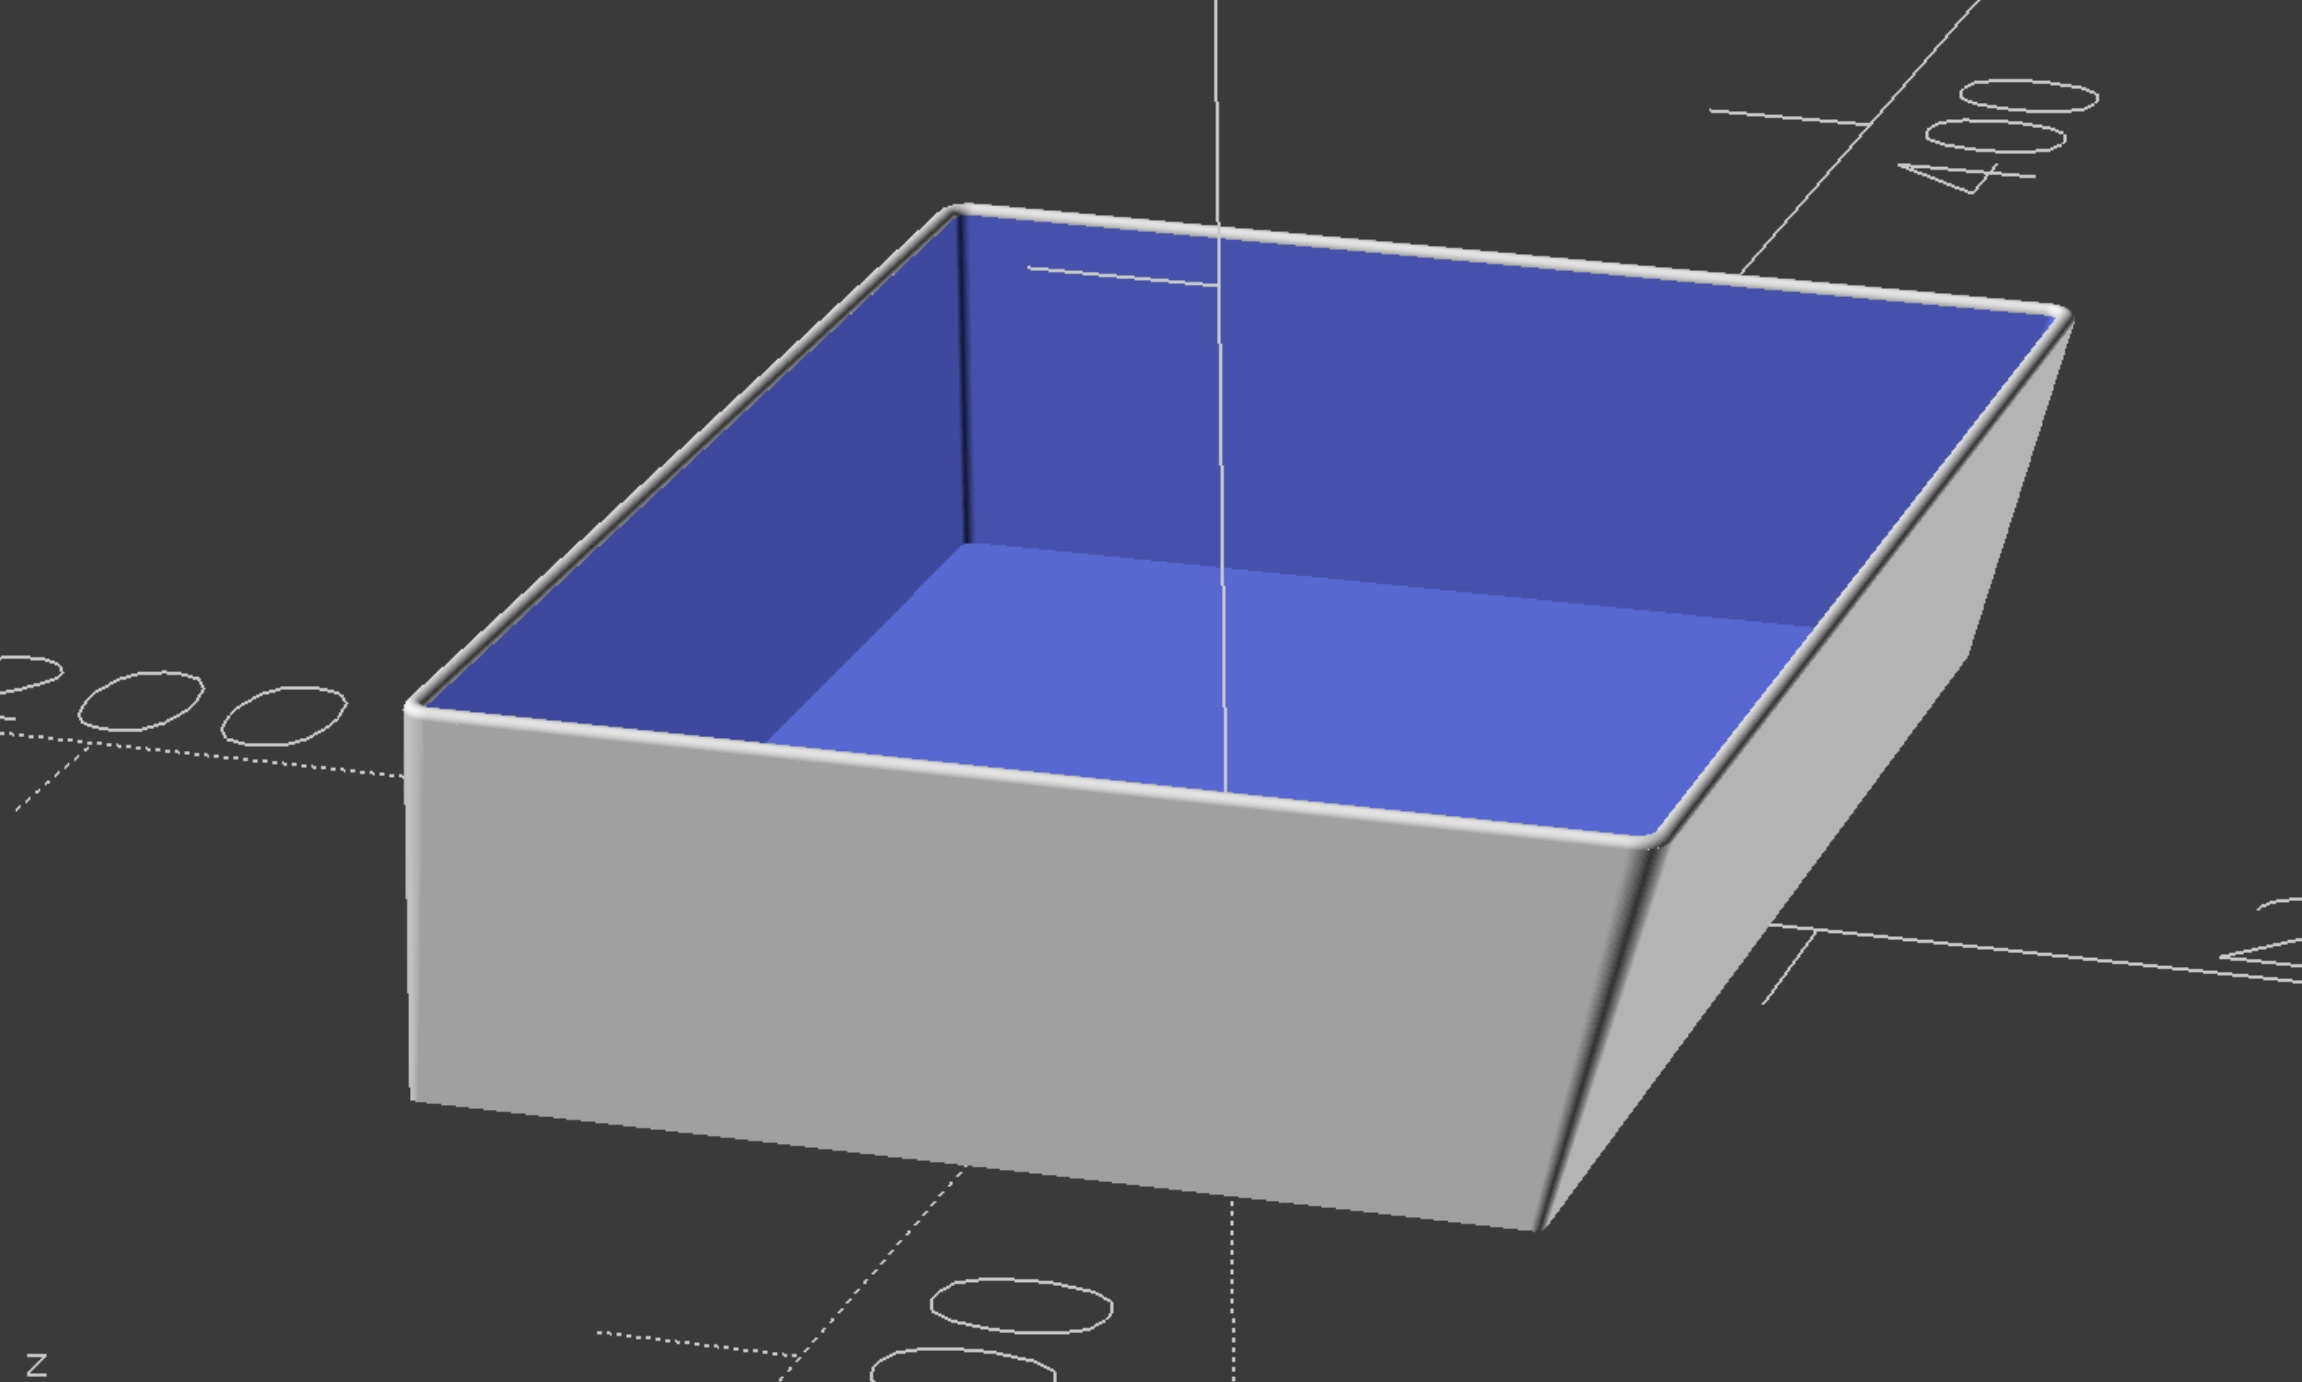
And if your drawer is too shallow for standard organizers? That’s where a custom solution like AnyDrawer comes in. Our organizers are designed to match the exact height and dimensions of your drawer—no matter how oddly sized or space-constrained it might be.

This is where backup supplies, bulk items, and big tools live. Printer paper, envelopes, label makers, extra notebooks—they all belong here. Create a print station with your printer, paper, and ink in one place. File old documents vertically to avoid stacking them into oblivion.
Want to level up? Color-code your folders. It’s satisfying, and yes, surprisingly effective. Add labels with a label maker for quick reference (and bonus accountability if you’re sharing space with others).

No drawers? No problem. Use vertical space.
Pegboards can hold scissors, rulers, even push pins. Wall-mounted file sorters make great mail stations. Clipboards, floating shelves, and whiteboards all earn their keep in smaller or shared workspaces.
A wall system can also become a visual to-do list, command center, or catch-all for ideas. Just don’t turn it into a collage of Post-its you never act on.

Reset your desk at the end of each day: file the paper, put away the pens, wipe the crumbs. If something new comes in, follow Elsa’s "one in, one out" rule.
“Organization isn’t a one-time event—it’s a habit,” she said. And those habits only stick if they’re easy.
Elsa’s seen too many people give up because their system had too many steps. Keep yours intuitive and easy to update as your needs change.
As Elsa put it, systems work best when they match your actual habits. "Every item should have a designated spot that aligns with how and when you use it," she says.
The truth is, organizing your office supplies won’t change your life. But being able to find a working pen when you need it? That’s a start. And sometimes, that’s enough.
A functional workspace isn’t about buying matching containers or achieving minimalist perfection. It’s about clarity. It’s about being able to think clearly, work efficiently, and not waste five minutes digging through chaos every time you need a highlighter.
If you're just starting, keep it simple. Follow the top-down method. Give every item a home. Reset regularly. And if something isn’t working? Adjust it. That’s the whole point.
The goal isn’t perfection—it’s ease. And when your systems support your habits instead of fighting them, that’s when the real productivity starts to show up.
.png)
.png)
.png)


.png)
.svg)
.png)