
.webp)

You know the drawer. The one crammed with rubber bands, expired coupons, rogue batteries, and a tangle of cords you haven’t identified since 2016. You open it hoping to find scissors—and end up knee-deep in a time capsule curated by chaos.
It’s a junk drawer. And while everyone has one, few know how to organize a junk drawer in a way that actually works. That’s why we asked professional organizer Melanie Summers to show us how to turn clutter into clarity.
Melanie’s approach? Simple systems, low effort, and zero overthinking. “A well-organized junk drawer should be easy to set up and even easier to maintain—no overthinking, no hunting for lost items.”
Let’s break it down, step by step.
Before we get into the how, let’s talk about the why. Junk drawers don’t start messy. They become messy—fast.

According to Melanie, a junk drawer is "a holding zone for indecision."
It collects:
And it gets worse when:
Melanie's fix? "Make retrieval easier than dumping. If putting things back in their place is just as effortless as tossing them in randomly, the system will actually stick."
Understanding this is key—it shifts your goal from "decluttering" to creating an effortless, usable system.
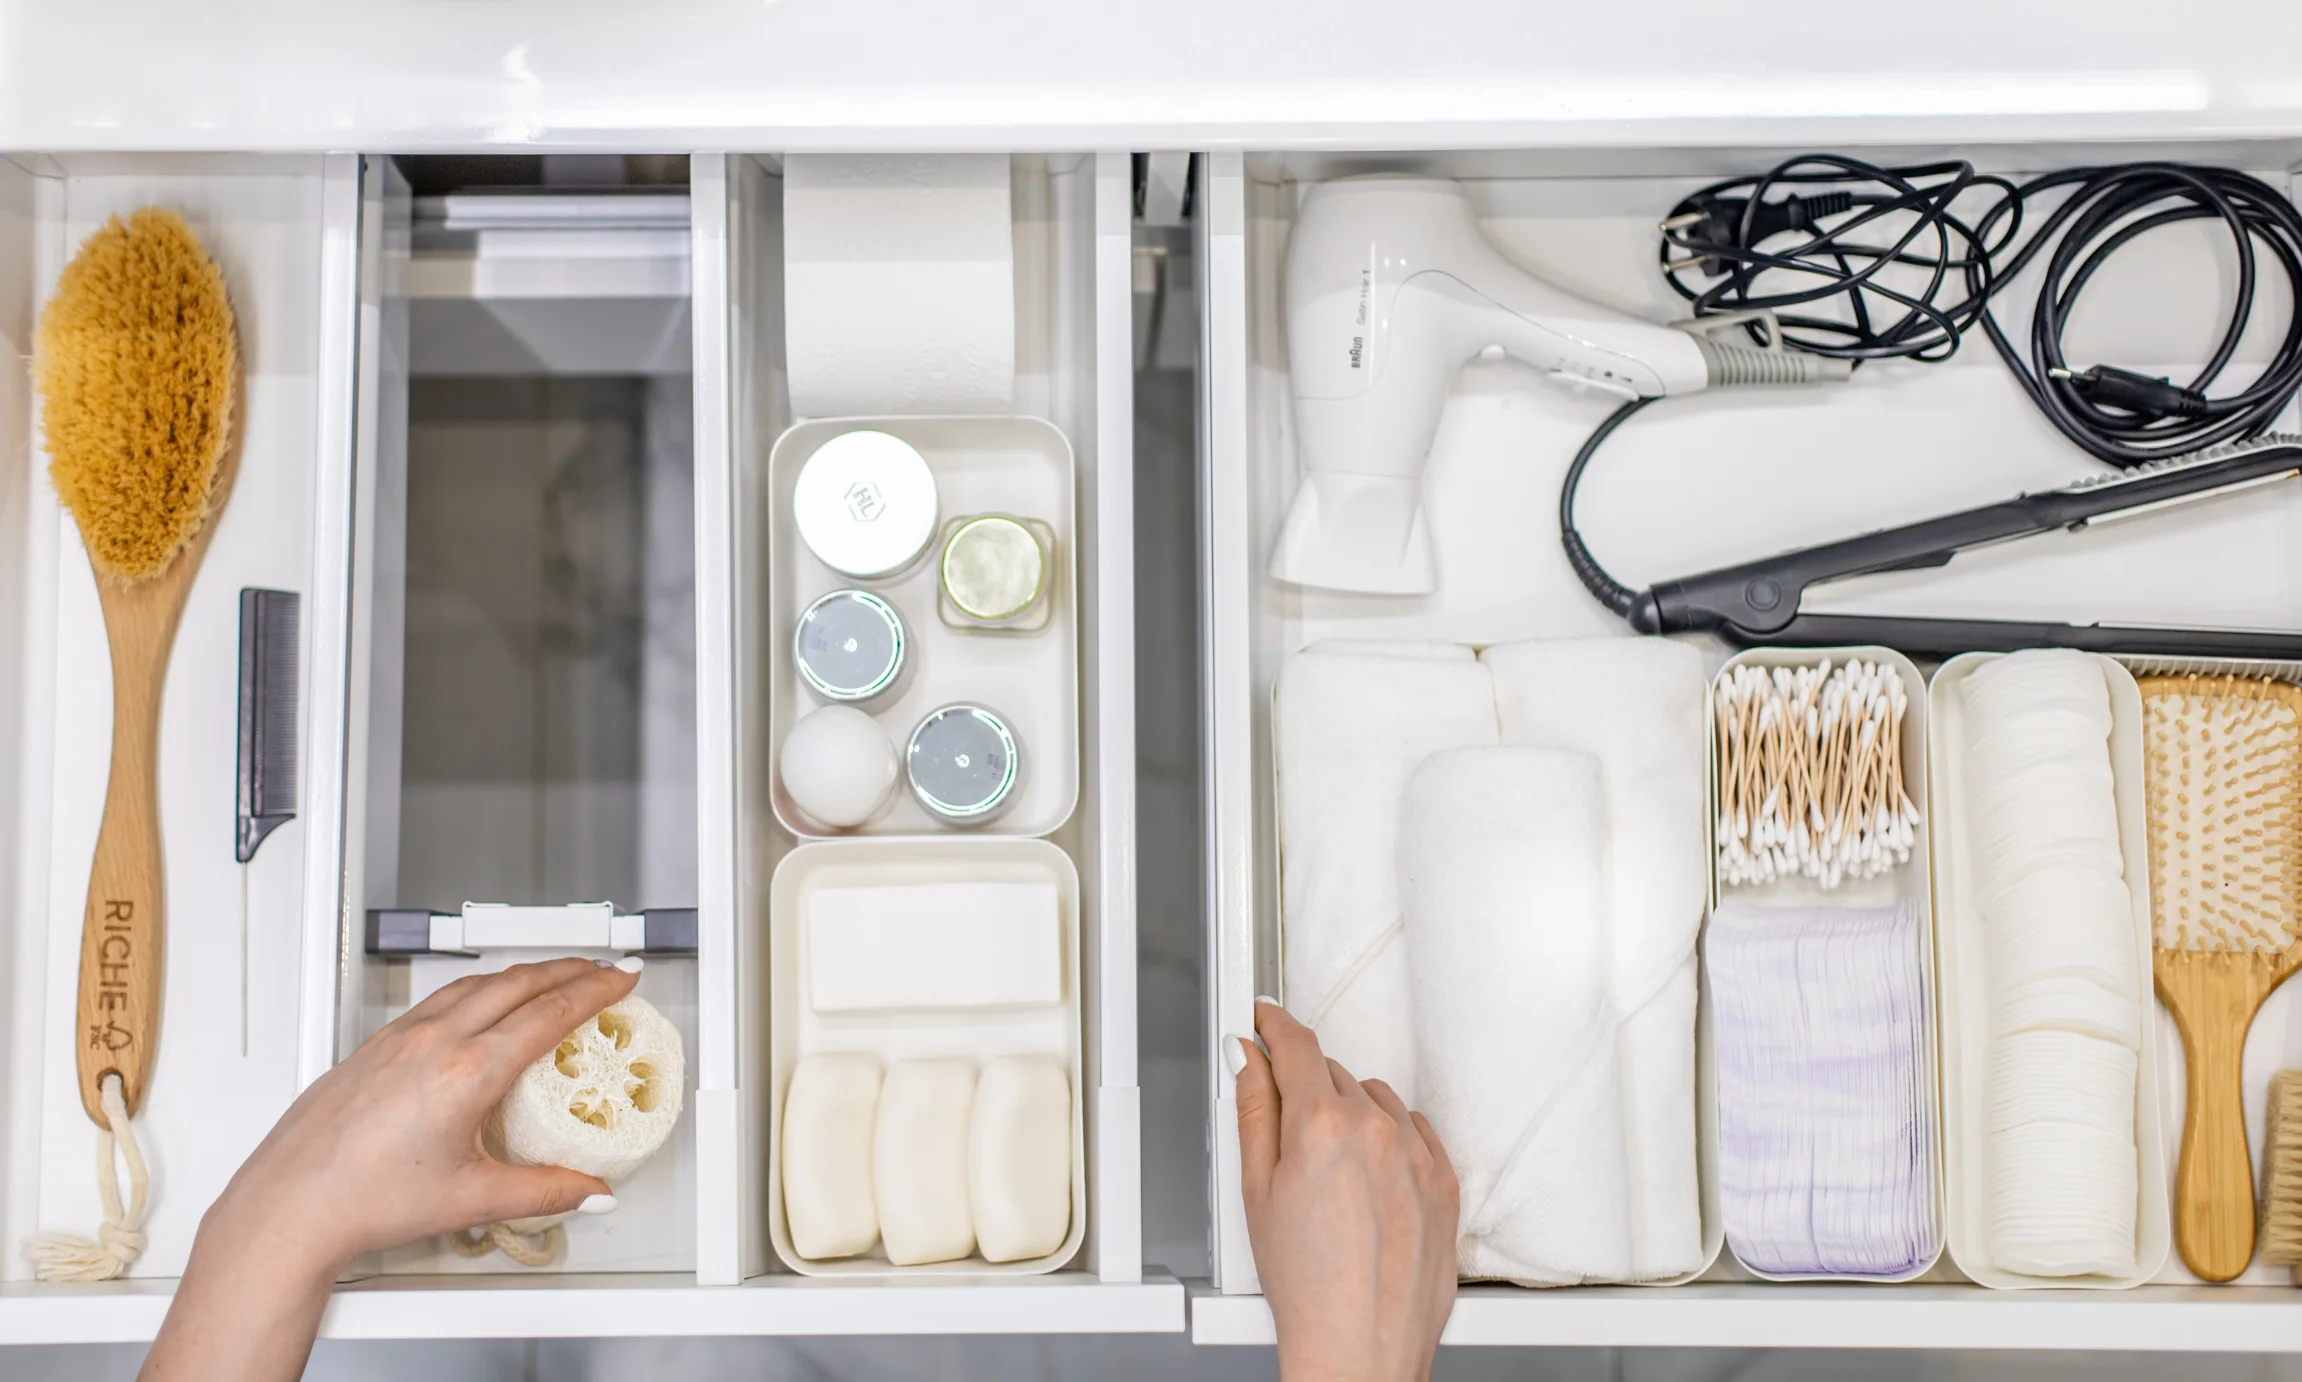
Let’s start with a clean slate. Take everything out of the drawer—yes, everything. Don’t try to decide what stays and what goes just yet. Spread all the contents out on a towel or tray so you can get a full visual of what’s been lurking in there.
Melanie notes, "Most junk drawers are a random mix of ‘I’ll put this here for now’ items, which makes finding things later nearly impossible."
A full reset is the only way to truly see what you’re working with—and it sets the tone for the rest of the process.
Now that your drawer is empty, it’s probably due for a serious wipe-down. Crumbs, dust, sticky residue—it’s all got to go. This is your chance to hit the reset button on a drawer that may not have seen daylight in years.

Here’s how to clean it properly:
A clean surface sets the stage for an organized system. Plus, it’s a lot more satisfying to reload a drawer that doesn’t feel grimy.
Before putting anything back in, take a moment to add a liner. Not only does this protect the surface of the drawer, it helps create a visual boundary and prevents organizers from slipping around.

Your options include:
Choose a liner that’s functional and calming to look at. High-contrast patterns can sometimes make the drawer feel chaotic again.
Now it’s time to make some decisions. This is where most people get stuck—but Melanie has a simple test to speed things up. Whether you have ADHD or just tend to accumulate clutter, fast decision-making is key.

Ask yourself:
And if this sounds a little like your nightstand too, you’re not alone — many people let theirs turn into a mini junk drawer. Here’s our guide on nightstand organization to help keep that space just as functional.
Once you’ve narrowed down what belongs, the next move is grouping similar items together. This helps create a sense of order and makes it easier to find what you need in the future.
Here are a few common categories:
Melanie recommends you "stick to 3-5 broad categories. Too many sections = too much thinking."
Simple categories reduce overwhelm and keep your drawer intuitive.
Even with categories in place, you’ll be left with some wildcards. These are the oddball items that don’t seem to fit anywhere—but that doesn’t mean they deserve a permanent spot in the drawer.
Here’s how to handle them:
Melanie once found "a bag of baby teeth labeled 'Just in case.' (Still not sure what case that was for…)"
You don’t need to keep everything just because it’s weird. Give your drawer a clear identity—and evict the randomness.
Now we’re into the fun part: giving everything its own defined space. The right organizer is the difference between a tidy drawer and a drawer that resets itself every time you open it.

Start with one of these:
This step adds a defined structure, transforming your junk drawer from a dumping ground into a system that works.
Don’t just throw everything back in. This is your chance to be deliberate. You’ve already done the hard part—now it’s about setting it up in a way that lasts.
Try this:
"Drawer labels or color coding help reinforce what belongs where, so the system stays intuitive”, says Melanie.
Think of this step as giving every item a job. If it doesn’t have a defined role, it shouldn’t be there.
Maintenance doesn’t have to be hard. A few small habits can keep your drawer looking organized without turning it into a daily chore.

Melanie recommends:
It only takes a minute to keep the system running—and the payoff is huge.
A junk drawer isn’t a sign of failure—it’s just a drawer waiting for a system. With Melanie’s help, you can turn it into one of the most functional spaces in your home.
Keep it simple. Keep it clear. And most importantly? Keep it useful.
.png)
.png)
.png)


.png)
.svg)
.png)