
.webp)

Craft supplies: colorful, inspiring, chaotic. If you’ve ever opened a bin labeled "miscellaneous" and found five kinds of glue, three tangled skeins of yarn, and a broken hole punch, you’re in the right place.
To bring some clarity to the chaos, we asked professional organizer Emily Bell of Eye of the Tidier to share her best advice on how to organize craft supplies.
Emily has seen it all, and she’s helped clients turn their cluttered creative corners into calm, functional spaces that actually support crafting (rather than eat up all your time trying to find the scissors).
Before you start tearing apart bins and dreaming of a rainbow pegboard, Emily suggests asking three key questions:
As she puts it, "It’s absolutely essential to understand three things that will form the basis of organizing craft supplies: the type of craft(s), the person, and the space available."
Without this, you’re just throwing containers at the wall and hoping something sticks.
Once you know the game plan, it’s time to face the mess. Emily recommends pulling everything out. Yes, even that container labeled "random bits."

Start grouping items using boxes, baskets, or just post-it notes on the floor:
If your jaw dropped somewhere between beads and embossing folders, good. That means you’re doing it right.
Emily adds, "This also makes it easier to declutter as you go—get rid of anything you don’t need into trash, donate, or recycle boxes."
It’s worth acknowledging that some people might find this step overwhelming, especially if space is limited. Emily suggests, "In these cases you’d just work through drawer by drawer or shelf by shelf, until everything is in its category box."
Once everything is out and sorted, start thinking about long-term categories. Emily typically organizes craft supplies by type—paper, ribbon, paint, templates—but she also recommends thinking by project when it makes sense.
"It’s also important to consider how and when each category will be used," Emily says, "since some might be needed almost all the time, but others won’t."
It’s also worth zoning your storage. Sewing supplies in one area, watercolor supplies in another. Cricut supplies deserve their own kingdom.
This is where most people go rogue and end up with a $200 haul of jars they’ll never open.
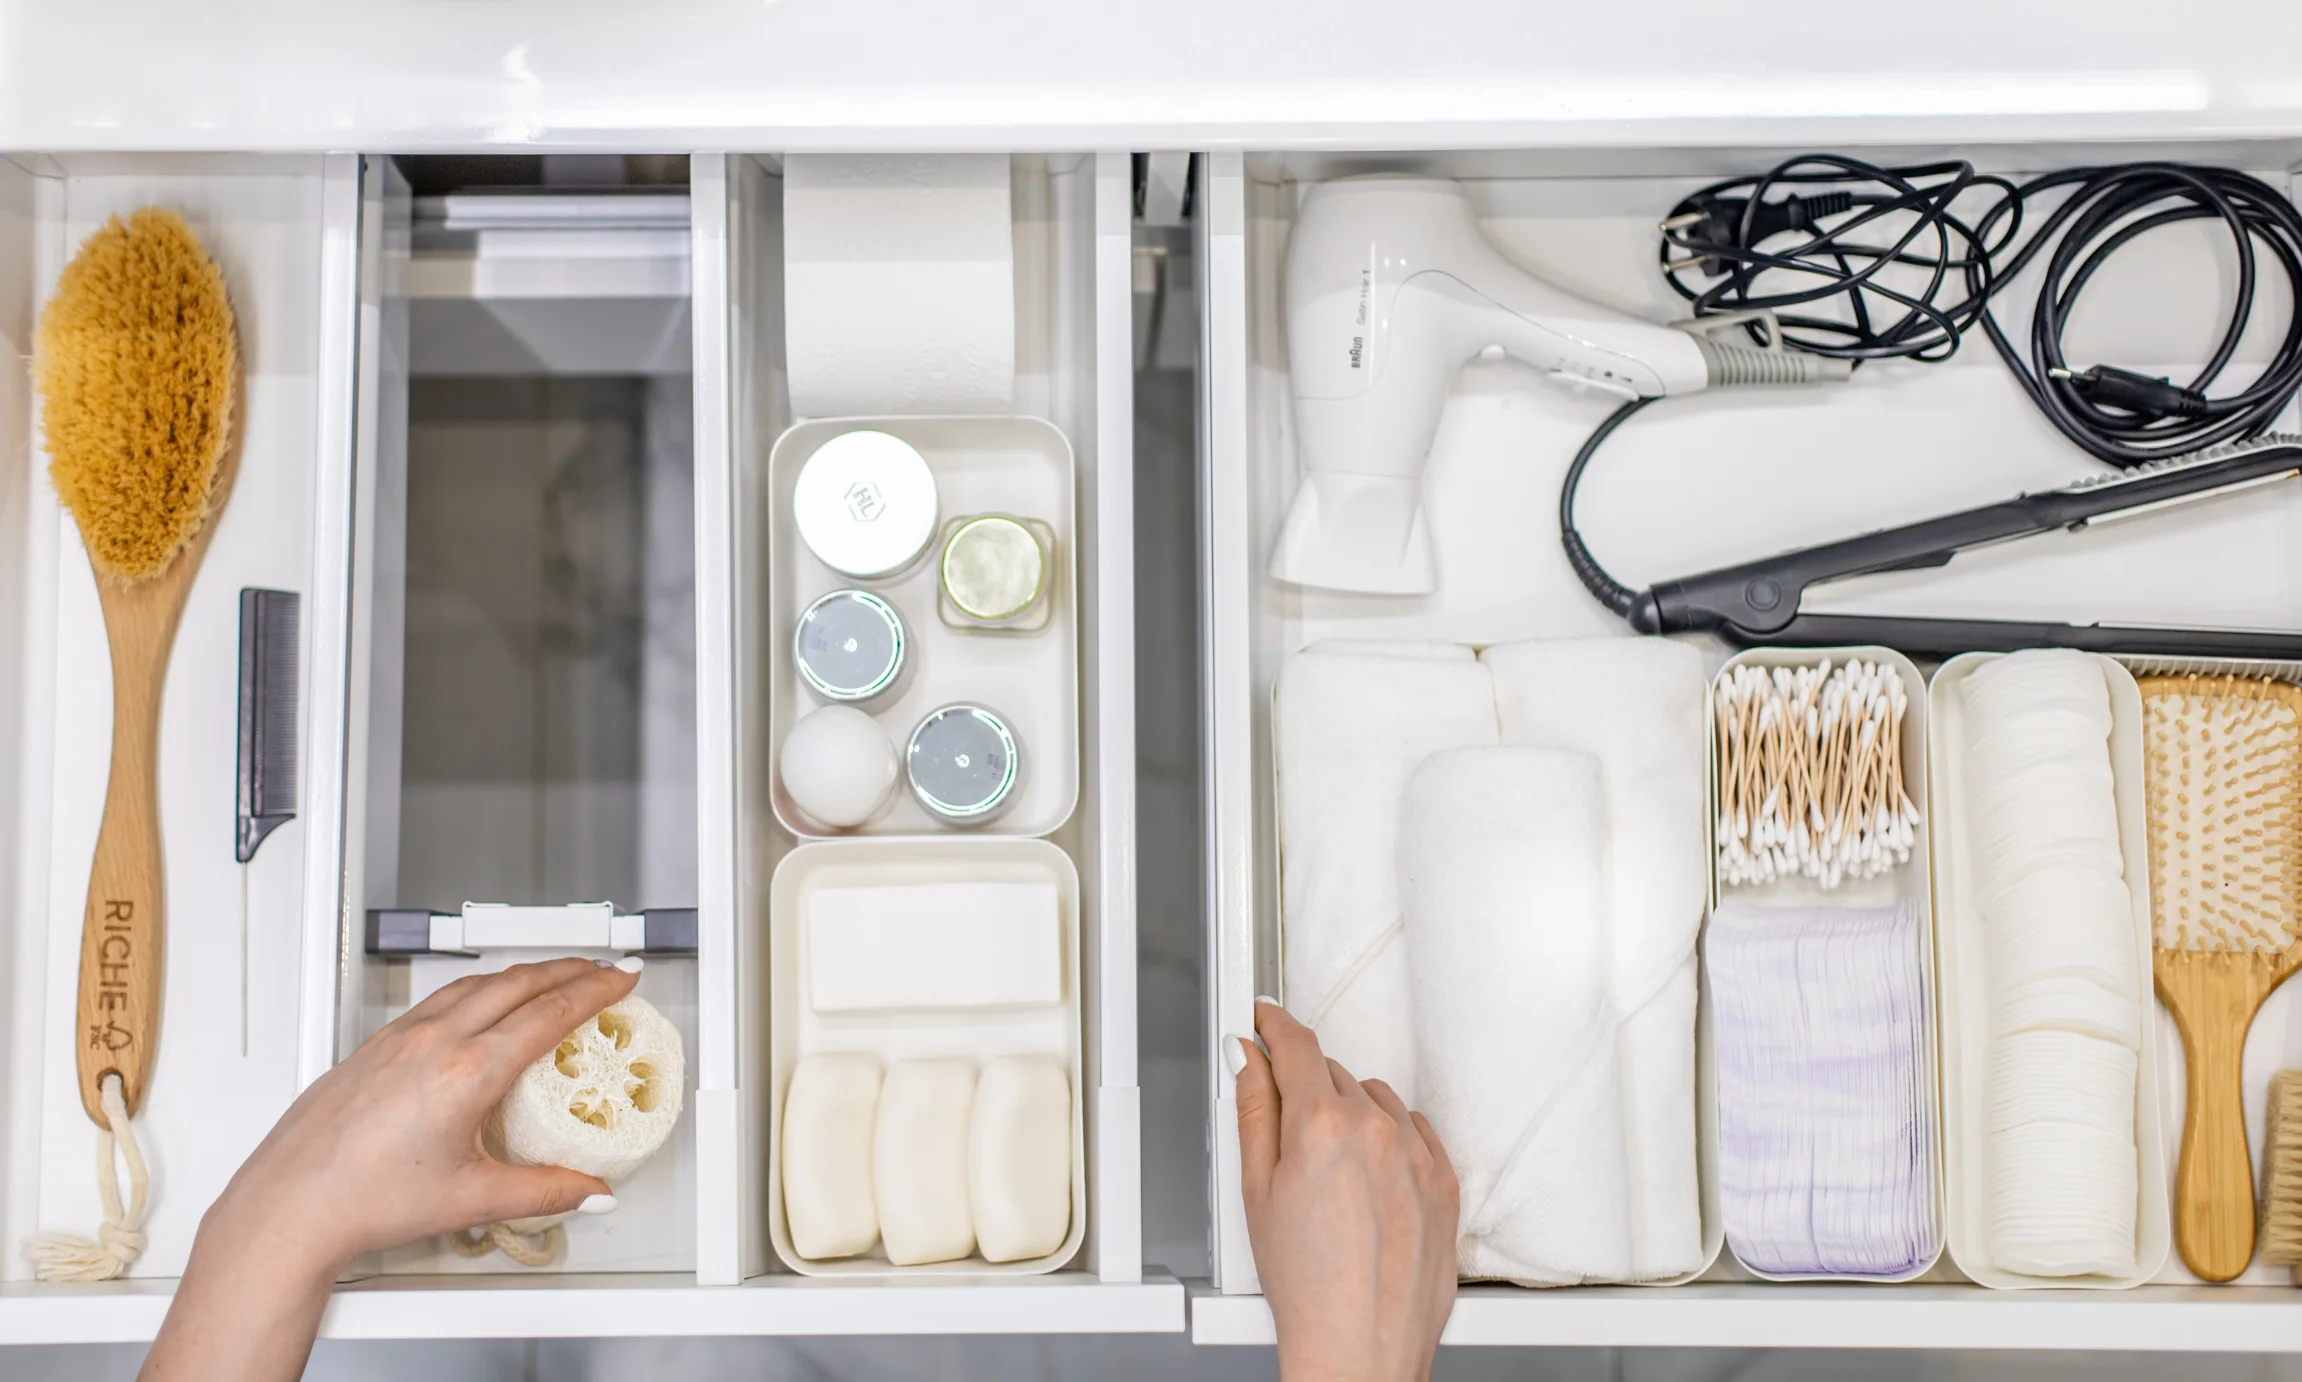
Emily says her go-to solutions for small items like beads and buttons are drawer inserts and trays with dividers. "They make it easy to maintain that organization over time. You can quickly see what you’ve got—and what you’re running out of."

Here are a few of her favorite options:
And if you’re storing supplies in drawers, AnyDrawer makes custom drawer organizers designed specifically for items like scissors, glue sticks, washi tape, or even sewing tools—so everything stays put and visible.
If you’re organizing craft supplies in a small space—or worse, a shared one—you’ll need to get creative.
Emily’s tips:
"Furniture that combines storage solutions and working spaces can be really helpful," she says, especially when you're working in multi-use areas.
Tool boxes or boxes with dividers can be stored under tables or sofas, but Emily warns: "If you need to stack them, make sure the most frequently used items are near the top."
.webp)
We all have them—half-finished quilts, half-painted canvases, and that candle kit you swore you’d start last Christmas.
Emily recommends assigning a dedicated zone for in-progress projects. Depending on your craft, that could be:
"This is probably one of the most common problems a craft space needs to solve," she says. "There are some really sturdy clear, zipped bags available now that can protect projects and make an area look tidier—even when you’re still not finished."
Organizing once is impressive. Keeping it organized? Legendary.
To make your system stick:
Emily reminds us that "having a place for everything is really important, so items can easily be put away at the end of a session."
And if you have kids crafting alongside you, she notes that systems are easier to maintain if they know where everything goes, too.
Craft supplies don’t have to be chaos. With the right setup, they can actually inspire creativity instead of suffocate it.
Emily once helped a client organize her small sewing room by sorting everything by color and type, turning thread spools into a rainbow display on a pegboard. The game-changer? A three-tier rolling cart that held patterns, tools, and scraps—plus a small ironing board right on top.
"Setting up the room in this way really improved her motivation and gave her the calm, creative space she needed to start and finish projects," she shared.
Which is exactly the point.
So go ahead—categorize those beads, label those drawers, and finally get that washi tape under control. Your craft space is waiting for its makeover moment. And if you're ready to take it up a level, AnyDrawer's made-to-order inserts are here to help.
Creativity starts with a space that works. Now let’s get yours there.
.png)
.png)
.png)


.png)
.svg)
.png)